5 Easy Ways to Reduce 3D Printing Costs
There are a handful of considerations to keep in mind when selecting 3D printing as your custom manufacturing process.

Xometry’s 3D printing service offers 8 unique processes and dozens of industrial-grade materials to tackle any job. To reduce the costs of 3D printing parts (without sacrificing speed and quality), product designers and engineers should understand where the major cost drivers are and how to mitigate them.
The two main cost drivers across all additive platforms are machine time and material cost. Machine time includes the time to fuse or join material to make the part as well as the time it takes the machine to warm up, transition to a new layer, and post-process before shipping. Material costs are directly associated with the material used when printing as well as any wasted and unusable material associated with the direct print.
The 5 tips outlined below are suggestions to help you save money when you get an instant online quote from Xometry.
Tip #1: Decrease Part Volume
Materials used in 3D printing processes, such as nylon powder (SLS) or rolls of thermoplastic filament (FDM) are a main cost factor. Thankfully, additive manufacturing processes are very efficient because printers can either recycle some unused material (e.g. non-melted nylon powder that acts as a support structure in SLS) or produce minimal waste material (e.g. FDM cartridges that only extrude enough filament to make the part and support structure).
Xometry’s quoting algorithm automatically detects how much material is needed to produce your CAD file, so finding ways to reduce the volume of your part is a great way to bring down the price.
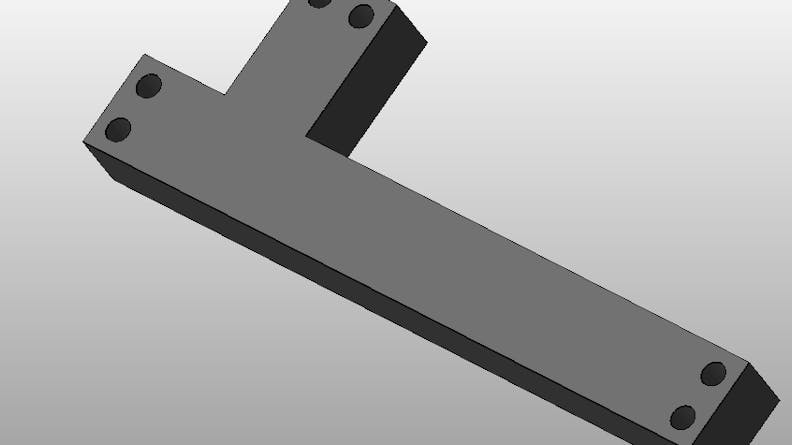
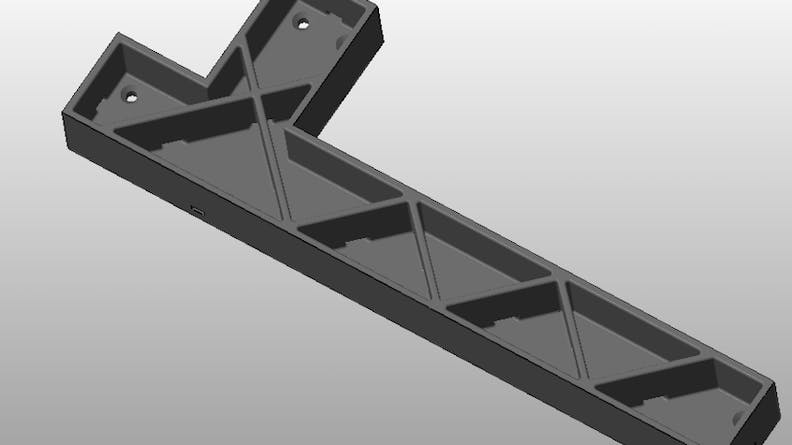
One way to limit volume, but still preserve overall dimensions, is lightweighting. Creating pockets in designs will reduce material usage, making it more cost-effective to build. When creating a pocket, be sure to create an exit hole for un-sintered (SLS and DMLS) or support (PolyJet) material removal.
For FDM printing, changing the infill is a great way to reduce part volume and cost. Xometry offers three different infill patterns for FDM:
- Ultralight: Xometry’s ultralight infill parts are filled with a single zig-zag pattern. This is the lightest and least expensive infill option.
- Light: Xometry’s light infill parts are filled with a double cross-hatch pattern. This option provides increased rigidity and is lighter than a complete solid infill.
- Solid: Xometry’s solid infill parts are completely filled for the highest density. This is the heaviest and most expensive option.
To learn more about infills and see visual comparisons of each, check out our infills article!
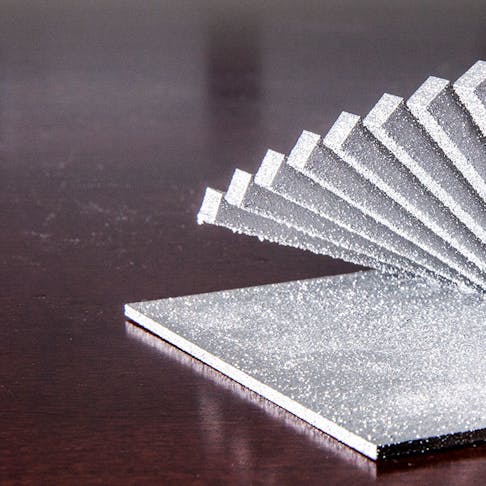
A double cross-hatch pattern provides increased rigidity while retaining part strength
Tip #2: Reduce Z-height
3D printers produce parts on a layer-by-layer basis, fusing or bonding one cross-section at a time until the whole object is formed. For powder bed fusion processes, such as SLS, HP Multi Jet Fusion, and DMLS, the machines melt layers of powder and then moves incrementally up to create the next level. For extruding/jetting processes, the material is ejected through a printhead nozzle. SLA and DLS processes balance layers and cure times. For every layer, which varies from 0.001”–0.013” in height depending on the process, there is a mechanical movement that can add a lot of time to a part’s build. Pairing the vertical movement, recoating of material layers, and even incremental automated printhead cleaning can add hours of machine time.
Minimizing the vertical Z-height of the part is a great way to keep printing costs down. Sometimes splitting parts is also more economical than increasing height. With a lower part height, the impact of the machine activity between layers is mitigated and the costs are focused more on direct material costs.
Xometry’s SLS, HP Multi Jet Fusion, FDM, SLA, DLS, PolyJet, and DMLS processes all use printers with various maximum build platform sizes. These are integrated into our AI-based quoting algorithms, which means that parts that can be built lying on their side (horizontally) tend to be more cost-effective than those that have to be built with their longest face in the vertical direction.
Here are some good “best practices’ lengths to keep in mind when designing your part for a particular process. Staying under these will generally ensure a lower-priced part. Another way to think about it is that if you stay under half the available platform size then you can get multiple parts on the build, allowing some overhead costs to be shared.
| Process | Recommended Z-height Limits |
|---|---|
Process Selective Laser Sintering (SLS) Unfilled | Recommended Z-height Limits Under 13” preferred, with build area up to 13" x 13" x 20" |
Process Selective Laser Sintering (SLS) Glass-filled | Recommended Z-height Limits Under 15” preferred, with build area up to 26" x 15" x 23" |
Process HP Multi Jet Fusion (HP MJF) | Recommended Z-height Limits Under 11” preferred, with build area up to 15" x 11" x 15" |
Process Fused Deposition Modeling (FDM) | Recommended Z-height Limits Under 16” preferred, with build area up to 36" x 24" x 36" |
Process Stereolithography (SLA) | Recommended Z-height Limits Under 16” preferred, with build area up to 29" x 25" x 21" |
Process Carbon DLS | Recommended Z-height Limits Under 3” preferred, with build area up to 7.4" x 4.6" x 12.8" |
Process PolyJet | Recommended Z-height Limits Under 7” preferred, with build area up to 19" x 15" x 7" |
Process Direct Metal Laser Sintering (DMLS) | Recommended Z-height Limits Under 5” preferred, with build area up to 9" x 9" x 9" |
Tip #3: Choose the Right Process
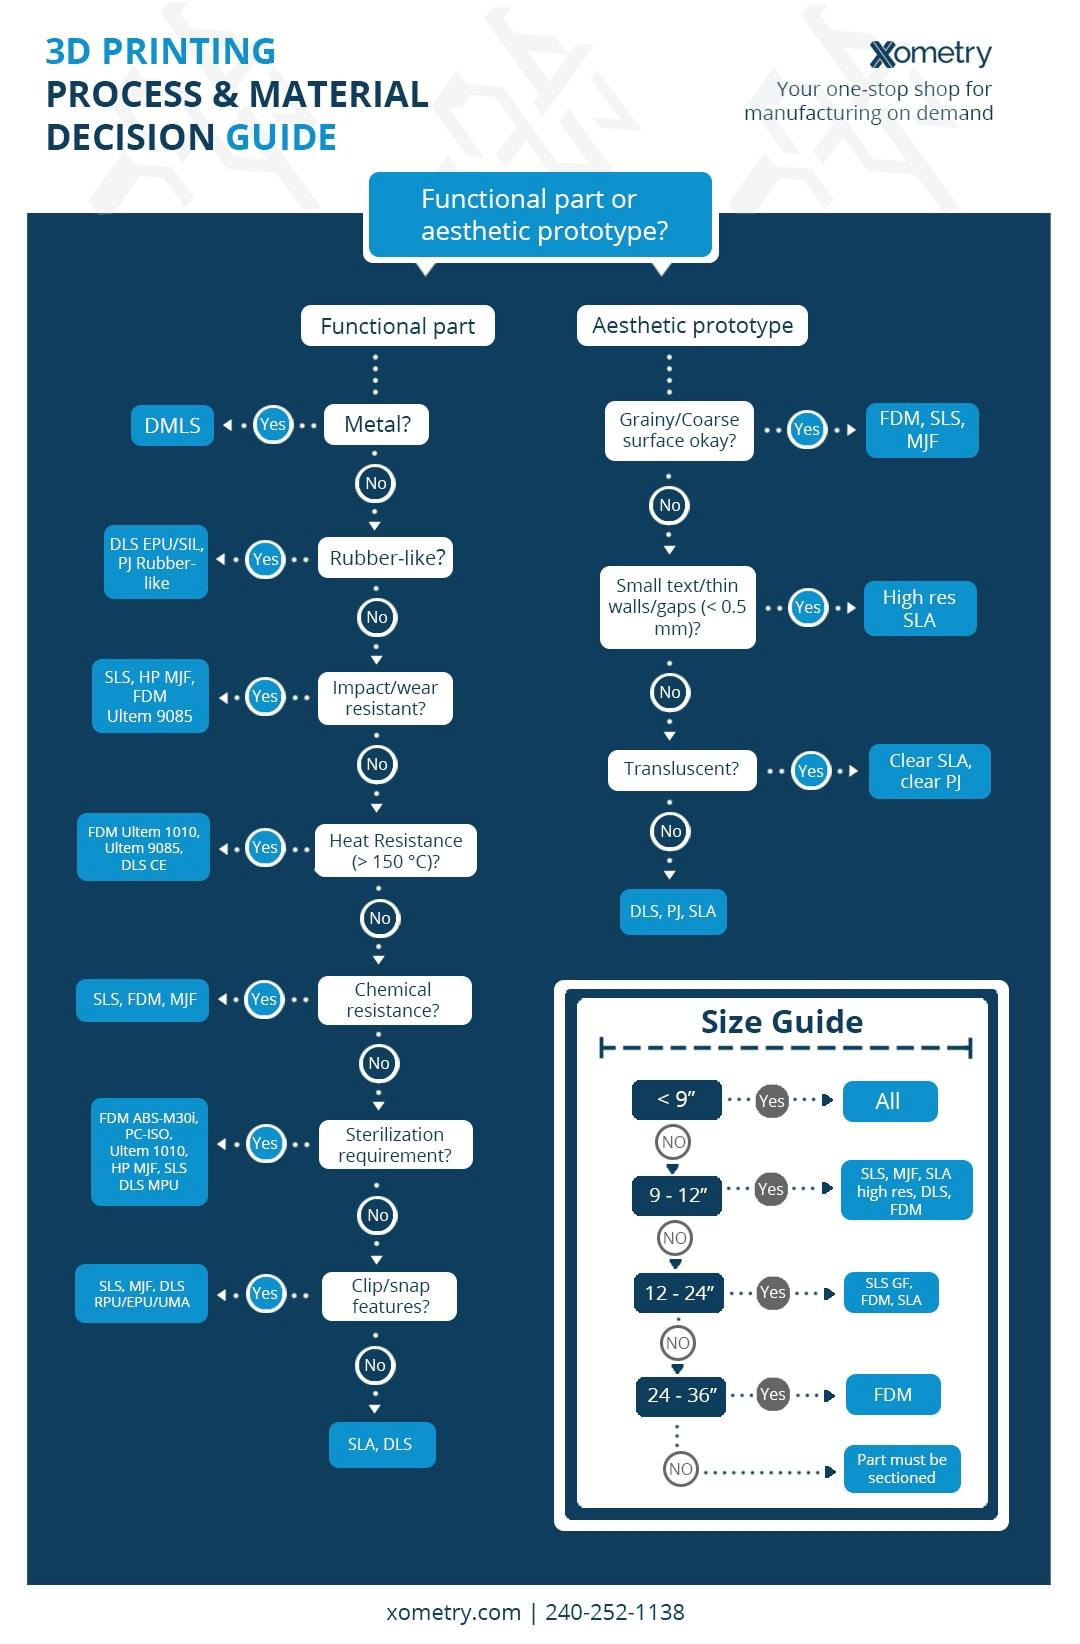
Different 3D printing processes have distinct price points, which means choosing the processes that fall within your budget (without compromising part function) can help you minimize costs.
Xometry’s SLS or HP Multi Jet Fusion printing processes using Nylon 12 is nearly always the most cost-effective process to make plastic parts in bulk. This is mostly driven by the fact that SLS parts can be printed in a family build which allows many items to be made “free-floating” in the powder bed. This allows for quantity discounts to be applied to additional items of the same part as well as added unique parts in the same quote. For large flat parts, FDM ABS-M30 or ASA is the go-to process due to the platform’s capacity to build parts quickly with various materials, infill, and color options.
The most cost-effective process for 3D printing metals is binder jetting. This affordable metal 3D printing process can create complex parts accurately without tooling, which reduces manufacturing lead times from months to days. We also recommend binder jetting as an economic alternative to metal casting in low volumes.
Tip #4: Choose the Right Material
Much like how different 3D printing platforms have different cost-drivers, so too do different materials. Some materials are more common—often called "commodity" materials—while others are engineered to have higher stiffness and heat-resistance—these are specialty "engineered" materials. Depending on your stage of product development, you should choose a material that matches your acceptance criteria for that stage.
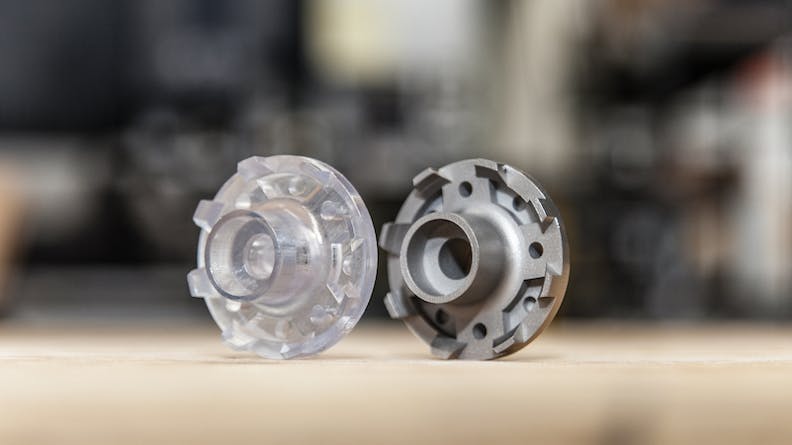
For example, if you are in the rapid prototyping stage and need to prove your concept or check the fit of a part within an assembly, you may want to choose ABS for FDM or Nylon 12 for SLS. These are low-cost materials with acceptable mechanical properties and feature resolution for most applications. When you need a higher-resolution material to prototype the final geometry, a more expensive Accura or Somos resin for stereolithography 3D printing may be the best 3d printing material. For a functional or late-stage prototype, you may want to choose a reinforced, high-performance material like SLS nylon 12 carbon-filled or FDM ULTEM 9085 to test the part in its end environment. These engineered materials should be chosen only at later stages in your product development cycle to minimize your material costs and save on 3D printing.
A bearing housing printed in two different materials. On left, PolyJet Clear, on right, DMLS Stainless Steel.
Tip #5: Follow 3D Printing Design Best Practices
There are a few basic design strategies you should stick to no matter what your part is made of or what process it's printed in. Doing so will decrease the number of times you will have to revise and reprint a design, lowering the overall cost of production. Some design strategies include:
- Designing with even wall thicknesses will mitigate any thermal deviations or breakage
- Adding clearance between features to ensure features resolve during printing, as well as reducing confined hollows to make sure there are no excess materials stuck between features.
- Filleting all internal and external corners to reduce acute stress points and increase the overall performance of the part
- Reducing the number of cantilevers or making these parts replaceable with off-the-shelf parts since they may break during 3D printing
You can find detailed design strategies in our 3D printing design guides.
For more in-depth tips, watch this on-demand webinar, Selecting the Right 3D Printing Material, hosted by me, Greg Paulsen, Director of Application Engineering at Xometry.
It's about why materials matter and how to choose materials that meet your project goals and maximize cost efficiency. I also discuss the strengths and trade-offs of each additive manufacturing process at Xometry and real-life application examples.

