Three Quick Tips on CNC Tooling and Machining
A quick primer on CNC tooling and machining.

When it comes to CNC machining, time is money. For low volume production, part set-up, programming, and machine run-time often far outweigh material cost.
Understanding how part geometry dictates the required machine tools is an important component in minimizing the number of set-ups the machinist needs to perform as well as the time spent cutting the part. This can expedite the part-making process and save you money.
Here are the top 3 tips you need to know about CNC machining and tooling to make sure you’re designing your parts efficiently.
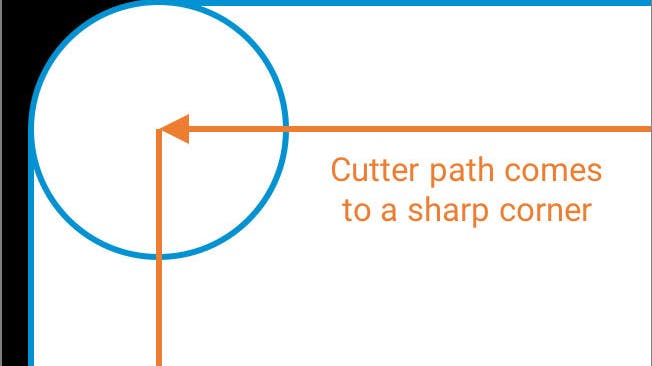
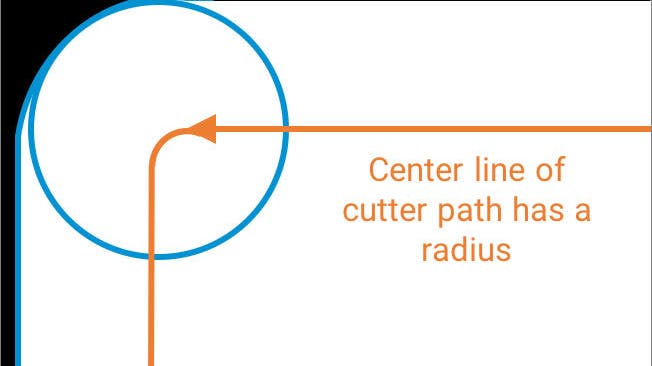
End Mills automatically leave rounded internal corners. Larger corner radii mean that larger tools can be used to cut the corner, which cuts down on run time and as a result decreases cost. By contrast, a narrow internal corner radius requires both a small tool to machine away material and more passes — often at slower speeds to reduce the risk of deflection and tool breakage.
For optimum design, always use the largest corner radius possible and keep a 1/16″ radius in mind as a lower limit. Corner radii smaller than this require very small tooling and the run time increases exponentially. In addition, try to keep internal corner radii the same, if possible. This helps eliminate tool changes, which adds complexity and can increase run time significantly. For more information on corner radii, check out our blog on optimizing internal corner radii.
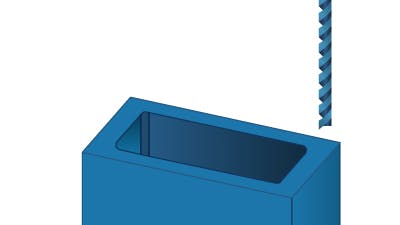
Parts with deep internal cavities are often time-consuming and expensive to manufacture.
The reason is that these designs call for fragile tools that are susceptible to breaking during machining. To avoid this, the end mill should be progressively “stepped down” in uniform increments. For example if you have a pocket that is 1″ deep, you may take repeated passes with 1/8″ Depth of Cut and then a final finish pass with a 0.010″ depth of cut as a finish pass.
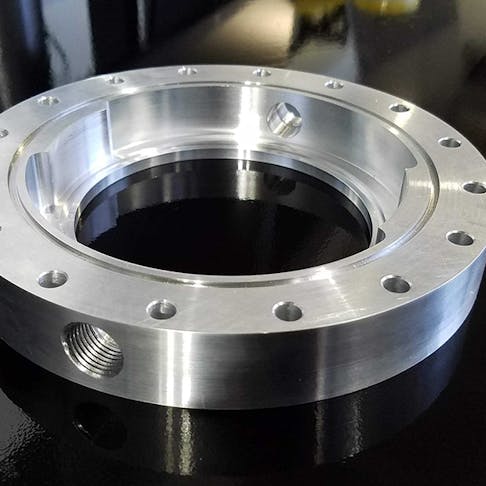
Utilizing standard tap and drill sizes will help reduce time and save money on your parts. When drilling, keep sizes to a standard fractional number or letter. If you aren’t familiar with drill and end mill sizes, it’s safe to assume that conventional fractions of an inch, like 1/8”, 1/4”, or whole numbers of millimeters will be “standard.” Avoid using measurements like 0.492” or 3.841 mm.
For taps, 4-40 taps are more common and generally more available than 3-48 taps.


