Achieving Clarity With Polyjet

Learn how to get extra clear parts through post processing Polyjet printed parts.


Our PolyJet technology allows us to create a variety of parts, such as full-spectrum color models, multi-material parts with rigid and soft components, and see-through objects, to name a few. In this article, we'll be diving deeper into printing clear parts using PolyJet and a method you can use to enhance the clarity of those parts even further.
Let's start with the model itself.
File Setup
When using Xometry's PolyJet service, there are a few ways to have your design printed in a transparent material. The easiest way is to select the "Translucent, Clear Photopolymer" option under the rigid materials when quoting your part. This is a great option when you want your entire model to be transparent. But what if we need some sections of the model to be clear and others to be opaque or made of a different material? This is undoubtedly possible with PolyJet; however, it does require a bit more setup with the file itself. For our example, we will aim to create a small globe of Earth with transparent oceans and textured continents.
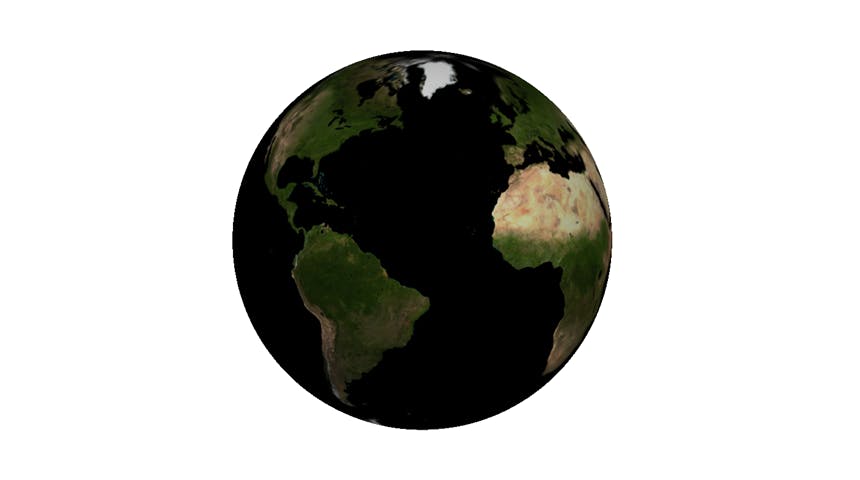
Preview of a textured globe model in CAD
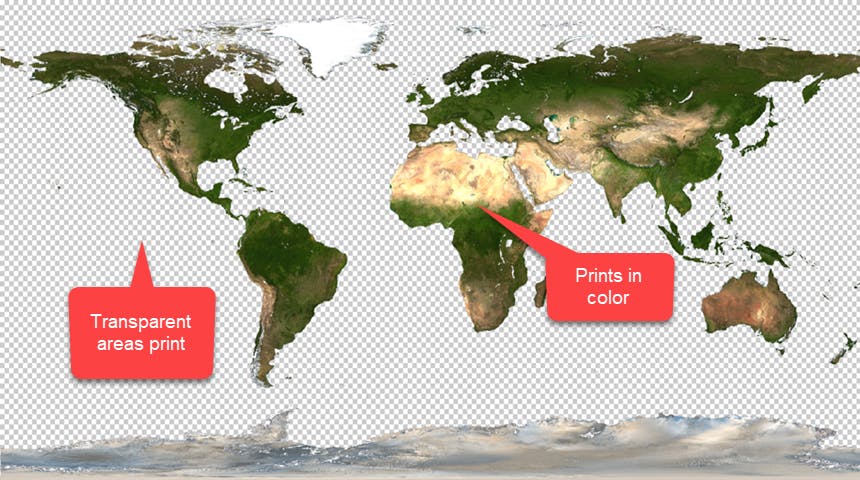
For our example part, we applied an image of a world map as a texture map over a spherical model and then exported it as a 3MF file. The texture map we used has transparency for the oceans, and the continents are left opaque. When the model is imported into the printer's software, transparent areas will print with clear material, and others will print as the texture shown.
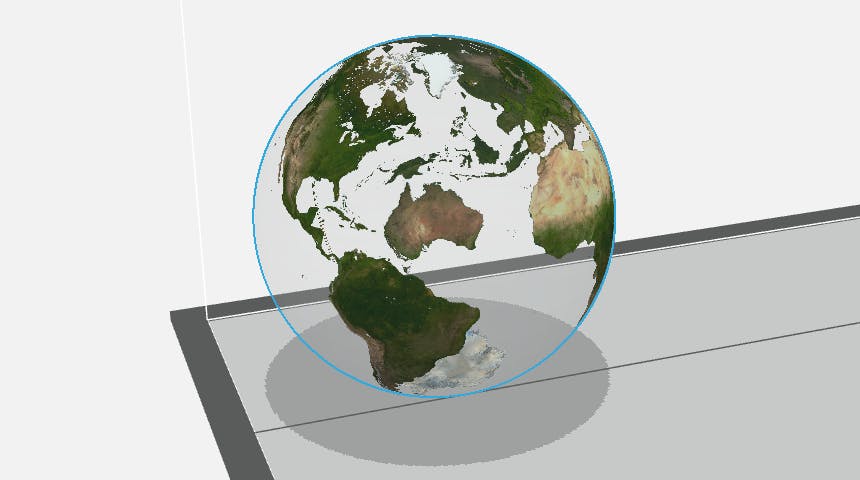
In the images above, you can see how our model looked when we applied the texture to our part in CAD and how the print preview appears in the printer's software.
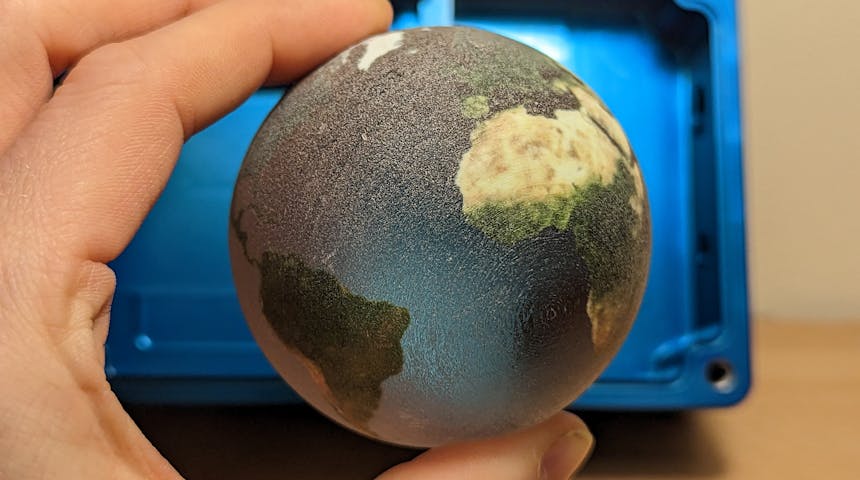
PolyJet multi-color print as-printed.
In the image above, you can see how our print turned out after standard support material removal. While there is some transparency in the part, you may notice that it's not very clear as printed. Even though PolyJet is a very high-resolution process, the layer lines and dryness of the material make the clear areas appear foggy or frosted. Applying a clear enamel coat without further processing can help with the clarity of the material; however, to really bring it out, we need to smooth down the surface first.
To smooth the print, we used a progressive wet sanding technique. First, we started with coarser grit sandpaper, such as 400-grit, and progressively worked our way up to fine and super-fine grits in the 2000-3000 range. After letting the part dry after sanding, we finished the piece off with a coating of crystal clear enamel. When applying the clear coat, it's best to use a few thinner coats versus one thicker coating; this helps prevent an uneven application. Be sure to allow the coats to dry thoroughly before handling the part to avoid leaving fingerprints or other marks in the coating.
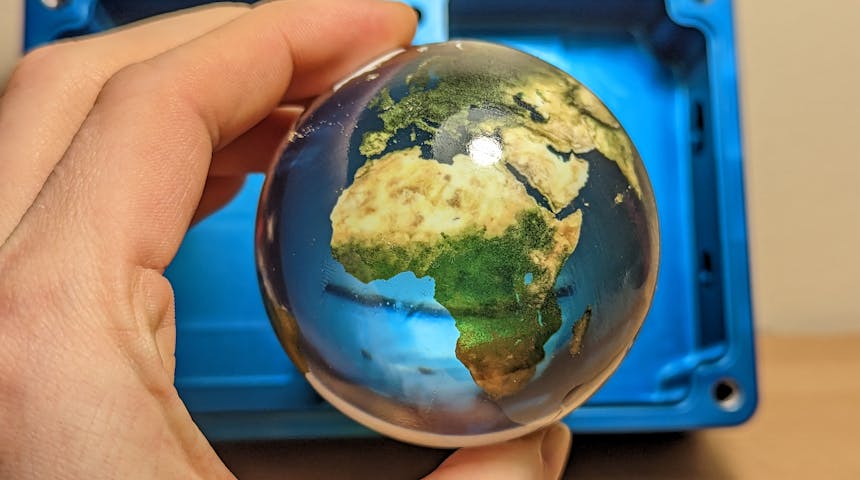
A clear PolyJet part after polishing and clear coating.
As you can see, the clarity and glossiness have vastly improved after sanding and applying a clear coat to the part. If we spent more time sanding and using even finer grits, we could likely achieve an even better result. We hope you have found this article informative and have a better idea of what's possible with PolyJet! You can visit our PolyJet service page to learn more about our PolyJet and full-color capabilities.

Disclaimer
The content appearing on this webpage is for informational purposes only. Xometry makes no representation or warranty of any kind, be it expressed or implied, as to the accuracy, completeness, or validity of the information. Any performance parameters, geometric tolerances, specific design features, quality and types of materials, or processes should not be inferred to represent what will be delivered by third-party suppliers or manufacturers through Xometry’s network. Buyers seeking quotes for parts are responsible for defining the specific requirements for those parts. Please refer to our terms and conditions for more information.