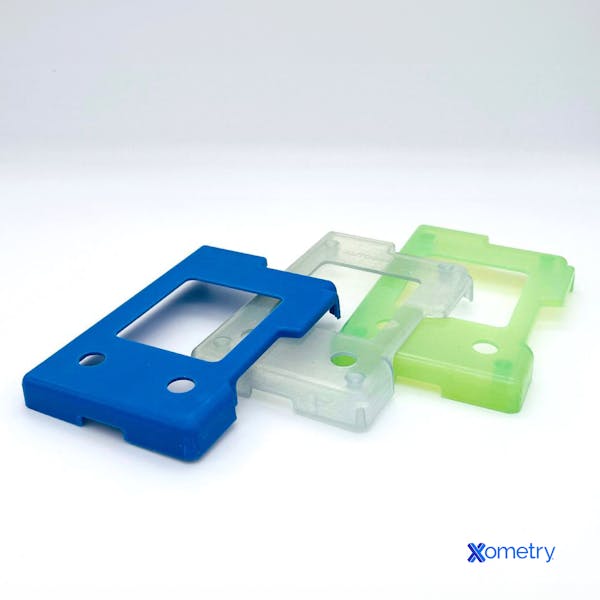
Every single product we use in modern-day life started as a prototype. Well, technically, it was first an idea, which then became a sketch, then there were a few more steps along the way, but THEN it was a prototype… The point is that before a product can be put on the market, it needs to be thoroughly tested to be deemed worthy, and this is done with a prototype. Read on to learn all about the prototyping process and how you can go about making your own.
What is a Product Prototype?
A prototype is a very early version (sometimes the very first) of a product, and it’s necessary for every single item that can be sold. Consider this demo model, mock-up, proof-of-concept—whatever you’d like to call it—the guinea pig where everything from design, performance, functionality, and even aesthetics are evaluated.

While much of today’s testing and evaluation happens on a computer, the physical product will always need to be put through its intended purpose to see if it can do what’s needed of it, and safely, before it’s sent off for mass production. Many a flaw, defect, problem, and potential safety hazard have been averted thanks to the humble prototype.
In addition to making sure the product is useful and functional, creating the prototype can also allow manufacturers to see just how difficult or expensive production is and whether it’s worth the hassle in the end. Early versions can also be sent to customers and/or potential stakeholders so they can test out all the features for themselves, and see if they find it as valuable as the inventor does. If not, the idea might not make it to market.
Here are some advantages of having a prototype:
- It greatly reduces product development risks and costs
- Increases chances of commercial success
- It’s easier to make edits on just one product and, thereafter, beta prototypes
- Provides insights on how the product will function in the real world
- Helps avoid costly product recalls
- Can give potential investors a VIP peek
- It’s the most economical and effective trial-and-error method
Developing a Prototype
Here’s your step-by-step how-to for creating a prototype.
1. The Idea
First things first, you have to have the concept. If you already do, great! If not, but your goal is to make a useful product with mass appeal, then a good brainstorming session (or lots of them) is in order. Whether you’re working on your own or have a whole team, get as many ideas as you can, no matter how silly or unfeasible they seem. These concepts can then be tweaked, and you might just end up with a design for an amazing and innovative new product.
2. Requirements
Before you even sketch out the design, you’ll need to know the product’s exact requirements. For instance, how will it be powered? If by AAA battery, how many? This means that your product has a dimensional requirement. If it’s a portable device, is it light enough? This gives it weight and material requirements. If it’s a handheld product, have you factored in ergonomics? You get the idea. Once you have all this information, you can then go on to put your design down on paper.
3. Sketching
The product sketch will help you put things into perspective and make early refinements before you commit to a computer-aided design (CAD) model. Plus, when your product becomes a raging success, you’ll want this original sketch framed and proudly displayed on your wall! You can make the sketch in several ways: by hand with pencil and paper, an app on a tablet, or architectural software.
4. CAD Model
It’s time to turn your design into a CAD model with whatever 3D CAD software you’re using. This is, in effect, your “virtual prototype” and will help you visualize the individual parts and see how they all fit together. A rendering package, which makes realistic images, can also show you how the model looks in real-world conditions. These pictures will come in handy for early-stage marketing and showing to potential investors.
5. Making the Physical Prototype
For most manufacturers, however big or small, this is the most exciting part: seeing your product come to life. The physical prototype will be as close a match as possible to the finished item so that it can be properly tested and improved upon, if necessary. Before you make it, here’s what you need to consider:
- Budget: How much both the prototype and mass production will cost, and whether there are ways to keep costs down
- Measurements: Decide the unit of measurement for accurate measuring
- Tolerance: Work out the acceptable margins of error and if tolerances are tight or not
- Material: What the product will be made from, and if there are cost-effective alternatives
- Patents: Make sure your prototype doesn’t infringe on any intellectual property, like patents or trademarks—there’s no point putting all this effort into something that has already been invented
- Manufacturing method: Decide how you’re going to make the physical product. There are three main methods: 3D printing, CNC prototyping, and laser cutting. Read on to learn more about these methods to decide which one is best for you.
3D Printing

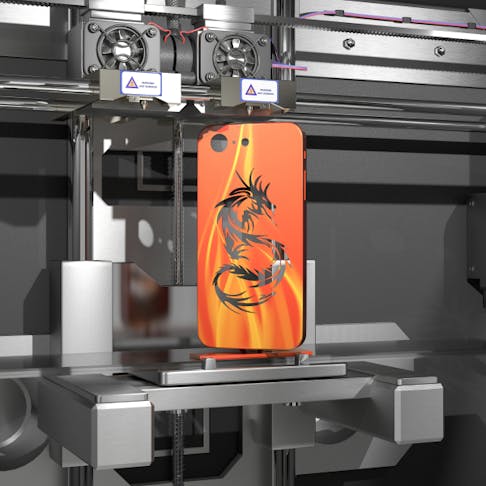
3D printing, or additive manufacturing, builds a product layer by layer using melted plastic and is the most affordable way to bring your prototype into the world. You’ll first have to design a 3D model using specialized software, i.e., CAD. The final design is then uploaded to a 3D printer, which will then proceed to build your prototype.
CNC
CNC (computer numerical control) prototyping makes high-quality, incredibly precise physical prototypes with machines that are computer-controlled. You’ll first need to make a 3D CAD model of your item, which is then converted into a format that the CNC machine can read. Unlike 3D printing that adds layers, the CNC machine removes material from a block or sheet with its cutting tools. Like 3D printing, this is a fairly hands-off process with minimal human intervention needed.
Laser Cutting
While 3D printing and CNC machining are best for 3D objects, laser cutting is what you’d typically choose for 2D designs. It’s cost-effective for flat, planar pieces in a range of materials, including wood, plastics, cardboard, and even organic materials like leather. You won’t need complex CAD either; it can be done with 2D software.
6. Testing it Out
Once it’s made, your prototype is ready for the most important part of the whole thing… testing! This is where you can check that it meets user requirements and performs as intended. Both formative testing, which gathers feedback to make improvements, and summative testing, which assesses it against predetermined standards, should be performed. To test out your prototype, you’ll need to do the following:
- Define the goals and questions to be answered during testing
- Recruit testers who match the target user demographic of the product
- Collect and analyze the feedback and data.
7. Perfecting the Product
All the user feedback and data that you have collected on your product’s design, usability, efficiency, and functionality in the testing phase can now be used to refine it. This might include altering its features, composition, or even the production method.
Top Tips
For your product to be successful, here are our top tips (which we consider musts):
- Start simple: Begin with a basic design and then add extra features and more complexity as you go along.
- Cost-effectiveness: See if there are ways to keep costs low, whether it’s the material or reducing unnecessary features.
- Legality: Hire an intellectual property lawyer to review your idea, give professional advice, and check your prototype doesn't infringe on any existing patents or trademarks.
- NDAs: To be on the safe side and protect your idea from being shared without your permission, you’ll want to get collaborators to sign non-disclosure agreements.
- Break it down: If your product is complex with many components, breaking it down into modules that can be worked on individually will be easier, and more cost-effective as they won’t have to be removed and then reintegrated into the main assembly.
- Test, test, test: The importance of testing cannot be overstated as the feedback gathered is what will help you make the necessary changes and create the final product that meets user needs.
FAQs on Creating a Prototype
How do I know when my prototype is ready?
You’ll be ready to send your product off to market when you can answer “yes” to the below questions:
- Does it effectively solve the problem it was created to address and meet user needs?
- Are the results of testing as you intended and expected?
- Has user feedback been mostly positive?
- Has the general consensus from testers been that the product is easy to use?
- Does it meet all the necessary technical requirements?
- Are the manufacturing costs reasonable and within your budget?
- Have any usability issues been fixed?
- If it needs to be, is it visually appealing?
Are there any other ways to keep costs down?
To save money, many of our customers choose the 3D printing method of manufacturing as it typically works out to be the most affordable way to make a prototype. In addition, you could use off-the-shelf components which work out a lot more budget-friendly in low-volume production.
How Xometry Can Help
For more info on prototypes, whether you’re at the brainstorming stage or ready to get it made, get in touch! Let’s work together to get your manufacturing projects underway; check out our 3D printing, injection molding, CNC machining services. You can get a free, no-obligation quote for a long list of services straight from our website by uploading your designs to the Xometry Instant Quoting Engine®!
Disclaimer
The content appearing on this webpage is for informational purposes only. Xometry makes no representation or warranty of any kind, be it expressed or implied, as to the accuracy, completeness, or validity of the information. Any performance parameters, geometric tolerances, specific design features, quality and types of materials, or processes should not be inferred to represent what will be delivered by third-party suppliers or manufacturers through Xometry’s network. Buyers seeking quotes for parts are responsible for defining the specific requirements for those parts. Please refer to our terms and conditions for more information.


