Mylar® and Stencil Laser Engraving and Cutting (Extruded and Cast)


Thanks to it being a laser-safe material, Mylar® is often used to make high-quality stencils with laser engraving and cutting. Read on to learn how.
What is Mylar?
Mylar®—a trade name owned by Dupont—is a grade of biaxially-oriented polyethylene terephthalate (PET) film. It’s usually made into thin sheets of different thicknesses via extrusion or casting (most commonly the former), and is available as a clear film, or in a range of colors. It’s often used to make stencils—sewing, etching, art, solder—and other applications, including:
- Airbrushing and painting
- Scrapbooking
- Cardmaking
- Quiltmaking guides
- Custom product labels and tags
- Architectural model making
- Lamp shades
- Other artwork
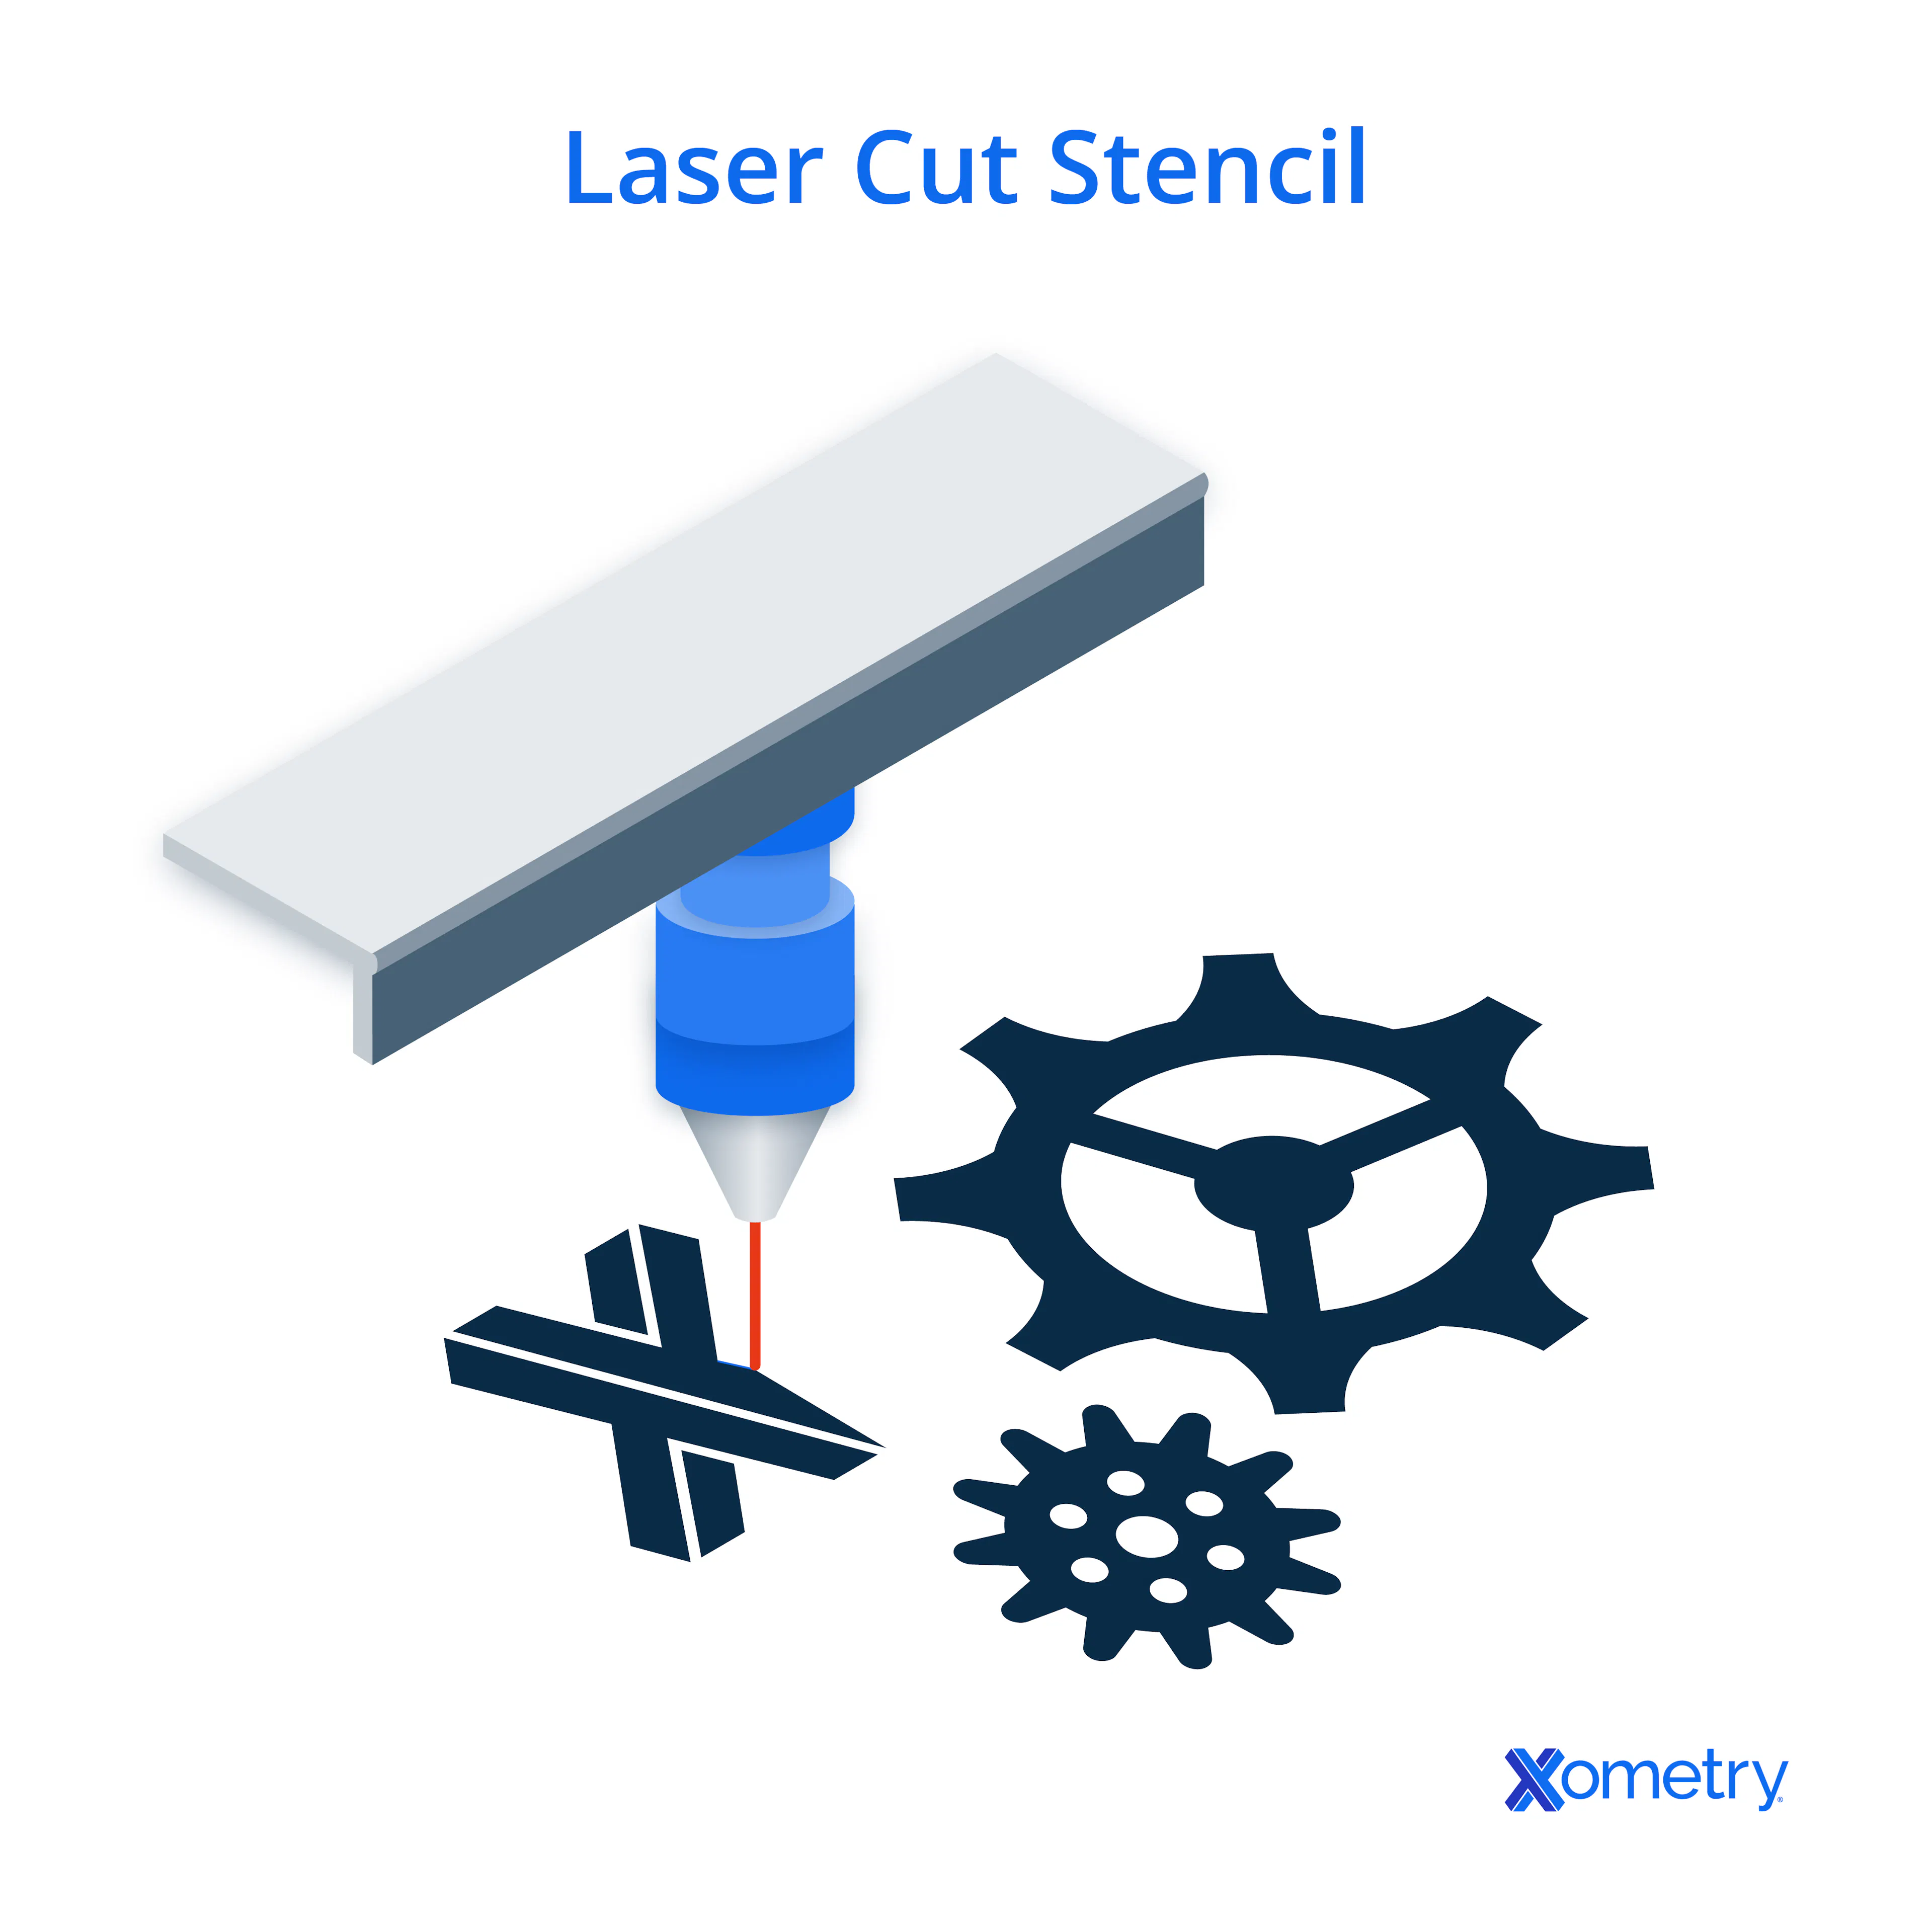
Stencil Laser Engraving and Cutting
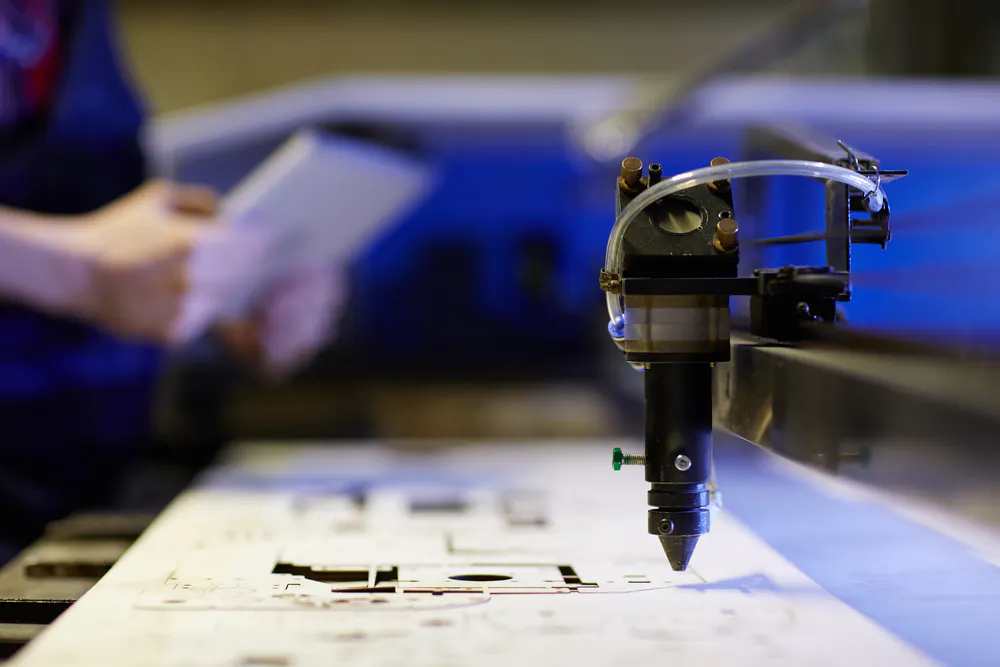
Stencils are basically templates for making multiple exact replicas of a shape or pattern onto a surface. The cut-out parts of a stencil are the design, so when ink or paint is applied, the holes allow the paint to go through and create the pattern while the rest of the stencil material acts like a mask to keep the rest of the surface unpainted. Apart from single-use stencils, where good old, budget-friendly cardboard will suffice, most stencils need to be made from durable and flexible materials… like Mylar!
Thin metals, cardboard, and other plastics can also be used. Acrylic, for example, is a rigid plastic that can be either clear or colorful, and is often used for engraved awards or signs—but it can only be used on flat surfaces. If the stencil has to come in contact with chemicals or needs to be welded afterward to create more complex designs, polypropylene is used. Metal, while durable and long-lasting, is harder for entry-level cutters to zap through, so is typically reserved for industrial machines. Mylar offers all the benefits of the mentioned materials and more—it’s flexible, durable, resistant to chemicals, and easy to cut with most CO₂ lasers, which is why it’s chosen for stencils. But not all Mylar sheets are suitable for laser cutting; for best results, these should be between 4–10 mils thick, and uncoated (unless the coating is laser-cutter safe).
While there are many ways to make a stencil, laser engraving/cutting is quick, easy, and highly repeatable—which is why it’s rapidly becoming the go-to method. Stencil-making is a relatively niche laser-cutting application; it’s more commonly used for industrial jobs. However, it follows all the same basic laser-cutting principles. Laser cutters produce impressively clean design edges, so the stencil comes out with excellent quality and, ultimately, produces beautifully precise artwork. It’s also an easy process because laser cutters—even low-power, entry-level machines—can cut through thin plastic sheets effortlessly.
How To Laser Cut Stencils With Mylar
After you’ve designed the stencil and are ready to make it, the next step—and arguably the most important— is adjusting the machine’s settings.
"For really thin films, sandwiching the flimsier material between two pieces of more rigid (and less reflective) type of material can be beneficial by holding the pieces in place and usually benefitting with a better edge condition as well when done right."
Recommended Settings
The best laser cutter power and speed settings for Mylar depend on the specific machine you’re working with, as well as the material’s thickness. You’ll also need to consider the machine’s focus height (although most of them offer automatic settings), and how many times you need to go over it for a complete cut.
Below you’ll find the general recommended settings for cutting Mylar sheets with a CO₂ laser cutter. The last row provides specific settings for the Glowforge Pro, which, while also a CO₂ laser, has its own built-in software that automatically adjusts the settings.

Recommended Settings for Cutting Mylar
Process Steps
Once you’ve got your settings in check, the process entails the following three simple steps:
- Converting the design image into vector format, which can be done with free software, i.e., Inkscape (you could also use designs that already come in vector format, like SVG, DXF, or AI, as these extensions make it easier to convert the edges into paths for the laser cutter to follow).
- Securing the Mylar sheet to the base of the machine's cutting bed completely flat (any raised areas can mess up the edges).
- Once it’s cut, you can take the stencil off the cutter and put it to use!
What Are Custom Laser-Cut Stencils?
A stencil is a template for reproducing multiple exact replicas of a shape or pattern onto a target surface. Stencils are usually made of flexible materials, such as cardboard, plastic sheet, or thin metals. The cut-out parts of a stencil are the design, while the remaining material acts as a mask. The ink or paint applied to the stencil creates the desired image on the target surface. Stencils are often created using a laser cutter, because a laser cutter produces the cleanest possible design edges, resulting in the best possible quality stencil and, ultimately, the final artwork.
How To Laser Cut or Engrave Mylar Stencils for Use With Solder Paste
Mylar and laser cutters also come together to make stencils for applying solder paste on the tiny surface mount device (SMD) parts on a circuit board—something that’s practically impossible to do with a standard soldering iron. In more professional settings, a steel or Kapton stencil is used, but this is a good budget alternative. Here are the steps:
- The planned positions and shapes of how the components will fit on the circuit board are extracted to a CAD file format (i.e., .dxf) so that the laser cutters software can read it and make the cutting instructions. These must account for the width of the laser’s cutting path.
- The CAD file is converted into a set of instructions in the language that the laser cutter can understand: G-code.
- The machine cuts the small solder pad openings from a sheet of stainless steel or a polyimide film, or the areas can be vaporized by engraving at a suitably high power.
- Once the cut is complete, the Mylar sheet is aligned with the circuit board (the fact it’s see-through makes this much easier).
- With the stencil in place, solder paste is spread over it, filling in the cut-out areas.
- The SMD parts can then be placed onto the board and soldered into place.
What is the Best Cutting Speed for Presentation-Quality Mylar Parts?
The best speed for Mylar with presentation parts depends on the thickness of the part. Presentation parts need clean and sharp cut edges. This is especially important if the material is relatively thick, i.e. from 8 mils (0.203) to 14 mils (0.36 mm), as any poor edges are more visible in the stenciled artwork. To get good results with thicker material, a slow cutting speed and a high laser power are required. A 30 mm/s cut speed with a power rating of 10 W is typically used.
What is the Best Laser Cutting Power Level for General-Quality Mylar Parts?
The best power rating for Mylar with general parts is 6 W with a cut speed of 150 mm/s. For general-quality parts, such as Mylar stencils, a thickness of 4 mils (0.1 mm) is typically used. Cosmetic finishes are not important for general parts. However, a crisp edge is still beneficial for a clean transfer. For that reason, the cutting speed must be increased to prevent the laser from melting the thin sheet away from the cut path.
What Are the Best Settings for Laser Cutting With Mylar?
The best settings depend on the available machine as well as the thickness of the Mylar sheet to be cut. The list of typical settings below is for a 4-mil thick Mylar sheet being cut on a Glowforge Pro laser cutter:
- Power: A laser power of 25 watts can be used to successfully cut 4 mils (0.1 mm) Mylar.
- Speed: A machine speed of 250 mm/s ensures that the laser does not spend too much time at one point, thus causing the edges of the cut material to melt.
- Passes: For thin sheets, a single pass is all that is required.
- Focus Height: While the focus height can be manually set, the Glowforge autofocusing feature should be used for optimal results.
It is important to note that these settings are only a guideline. Trial runs must be performed before cutting the final part.
What Are the Common Mistakes Made When Laser Cutting Mylar?
Despite the ease with which Mylar can be cut, there is still some room for error. Listed below are some common mistakes:
- Using the Incorrect Settings: Getting the settings correct is critical for successfully laser cutting Mylar. The speed, power, and focus height all need to be precisely set for the specific material thickness to prevent the edges from melting or to prevent incomplete cutting.
- Using the Wrong Mylar Sheet: Not all Mylar sheets are ideal for laser cutting. Generally, thinner sheets of between 4 and 10 mils are best suited for making stencils.
What Are the Best Beginner Tips for Laser Engraving Mylar Stencils?
While laser cutting a stencil on Mylar is relatively easy, sometimes it is better to create the stencil features using the engraving function of the laser cutter. Listed below are some tips to help the beginner make great stencils right from the start:
- Secure the Sheet: Make sure the Mylar sheet is properly secured to the laser bed. If the bed is steel, then magnets can be used for this purpose. Alternatively, tape can be applied to the edges of the sheet to keep it in place. This is even more important if the machine has
- Optimize Your Laser Settings for Engraving: When cutting very fine features on thin Mylar sheets, it may be easier to simply vaporize the material rather than cutting it. This can be done by making use of raster engraving, which essentially colors in the areas to be removed with the laser. The power must be set high enough to ensure vaporization, This is only effective for sheets of between 4 and 7.5 mils.
- Work Safely: Make sure there is sufficient ventilation when laser cutting mylar as the plastic fumes generated during cutting should not be inhaled. In addition, make sure that proper laser-safe eye protection is used and when cutting a new material, make sure that the first cut is observed to ensure it does not burn.
What Are Some Examples of Mylar Projects for Laser Cutting?
Mylar sheets are easy to cut and can be purchased in a variety of thicknesses, making them ideal for a wide range of applications, some of which are listed below:
- Solder stencils
- Etching stencils
- Airbrushing and painting
- Artwork for scrapbooking
- Card-making
- Quilt-making stencil/guide
- Custom product labels and tags
- Architectural model making
- Lamp shades
- Sewing stencils
What Plastics Are the Best for Use With Laser Cutting?
Listed below are some popular plastics which work well with laser cutting:
- Acrylic: Acrylic is a rigid plastic that is available as a clear, transparent material, or in a wide range of colors. It is often used for engraved awards or signs.
- Mylar: Mylar is frequently used for applications where thin, flexible sheets are required. It is available as transparent material or in a wide range of colors. Mylar is often used for stencils.
- Polypropylene: Polycarbonate is a rigid plastic that has excellent toughness and is resistant to a wide range of chemicals. It can also be welded after laser cutting to create complex geometries.
What Are the Alternatives to Mylar for Laser Cutting Stencils?
Listed below are some alternatives to Mylar for making laser-cut stencils:
- Acrylic: Transparent acrylic can be used to create a stencil. However, acrylic is rigid. Because of that, an acrylic stencil can only be used on a flat surface.
- Metal: A very thin metal sheet is often used to make more durable, long-lasting stencils. However, most entry-level laser cutters do not have sufficient power to cut metal.
- Paper / Cardboard: For cheap, limited-use stencils, paper or cardboard is an excellent choice, as it is flexible, cheap, and easy to cut.
FAQs on Mylar and Stencil Laser Engraving/Cutting
How Xometry Can Help
To learn more about making stencils with Mylar and laser cutting/engraving, get in touch, and one of our representatives will guide you in the right direction. We also offer a whole bunch of manufacturing services in addition to laser cutting, like CNC machining and, our forte, 3D printing. Your free, no-obligation quote is just a click away.
Copyright and Trademark Notice
- Mylar® is a trademark of DuPont Teijin Films™
Disclaimer
The content appearing on this webpage is for informational purposes only. Xometry makes no representation or warranty of any kind, be it expressed or implied, as to the accuracy, completeness, or validity of the information. Any performance parameters, geometric tolerances, specific design features, quality and types of materials, or processes should not be inferred to represent what will be delivered by third-party suppliers or manufacturers through Xometry’s network. Buyers seeking quotes for parts are responsible for defining the specific requirements for those parts. Please refer to our terms and conditions for more information.