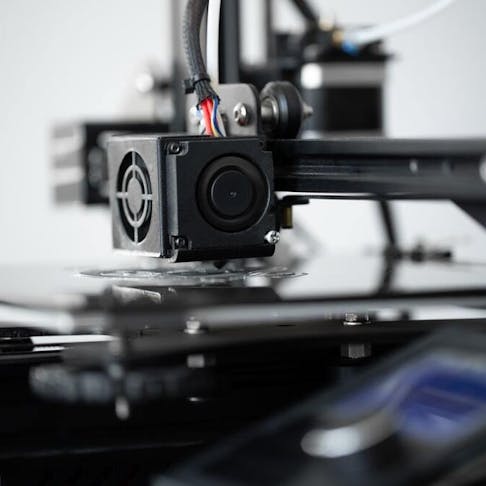
3D printing is both a hobby shared by millions of people around the world as well as a functional manufacturing technology that can produce parts and products. To fuel this demand, there are many different printers on the market. In general, these printers have the same underlying components, especially when it comes to FDM (Fused deposition modeling). These parts can be divided into ten categories of 3D printing machine parts.
This article will describe the 3D printer parts that fall into each of the ten categories, as well as the functions of these 3D printing parts.
1. Motherboard or Controller Board
The motherboard, or controller board, is the main hub to which all of the electronic parts of the 3D printer are connected. The key parts of a 3D printer motherboard are described below:
- Processor: Converts programmed software code to a set of instructions for the other printer parts to follow to print a part. 3D printer motherboard processors are either 8-bit or 32-bit.
- Connectors: Links all the electronic 3D printer parts. These can be in the form of terminal blocks, DuPont connectors, or USB.
- Stepper Drivers: Controls the power delivered to the separate coils in a stepper motor to make the motor shaft rotate. A standard 3D printer has 4 stepper drivers: one each for the x,y, and z axes, and one for the filament extruder.
- Communications: G-Code instructions are required to print the part. The program can be provided either over Wi-Fi, via a hard cable connection, or through an SD card slot.
Motherboards can be upgraded by simply swapping out the old one and plugging the electronic components into the new board. However, care must be taken to ensure the new board can handle the power requirements of the existing printer parts.
2. PSU or Power Supply Unit
The Power Supply Unit (PSU) supplies power to all the electronic components in the printer. This unit is a transformer and rectifier that steps down AC power and converts the lower power AC to DC. A PSU is connected directly to the motherboard which then directs the power to all the relevant components. Upgrading a PSU is often required if new components are added to the 3D printer that has higher power requirements. Take care not to replace the PSU without first confirming that the motherboard can handle the increased power.
3. Frame
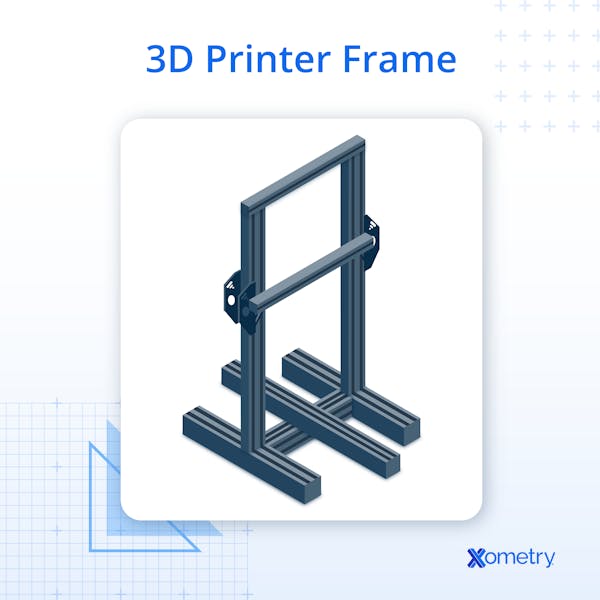
The frame of a 3D printer is where all the different mechanical 3D printer parts are connected, including the motherboard. the frame is typically made from aluminum, plastic, or steel. The stiffer or more rigid a 3D printer frame is, the faster the printer can print while still maintaining accuracy and quality. Most 3D printers have three axes of rectilinear motion. This means that the extruder can move left and right on the x-axis and up and down on the z-axis. The third axis of motion is supplied by the printer bed, which can move back and forth on the y-axis. The stepper motors are mounted onto the frame.
3D printer frames can be upgraded. However, this is often a cumbersome undertaking that often requires disassembling and then reassembling the entire printer. One of the simplest upgrades the user can make is to stiffen the frame’s gussets and brackets, improving overall rigidity and stability.
4. User Interface
A user interface is required to interact with a 3D printer. Most 3D printers have a basic screen with a few buttons and dials. These are sufficient for selecting the part to be printed from an SD card and allowing some basic settings to be changed, such as the extruder temperature or the bed temperature. More advanced printers will have multi-color touch screens with a user-friendly interface. Alternatively, the printer can be connected to a PC using a wired connection or via Wi-Fi. Either an OEM (original equipment manufacturer) or 3rd-party printer-control software can be used to control the printer and monitor the status of the print.
The user interface can be upgraded to an easier-to-use version. Care must be taken to ensure that the motherboard can work with the new screen in terms of the board's physical connection and the power requirements. Additionally, the firmware of the board will need to be updated to work with a new screen.
5. Connectivity
A 3D printer's connectivity is defined by how the user transmits the G-Code printing instructions to the controller. There are three main ways to connect to a 3D printer: via an SD card, a fixed cable, or over Wi-FI. Most printers come with an SD card and fixed cable connections. However, Wi-Fi is only available on more advanced printers. To upgrade from SD card / fixed cable to Wi-Fi often requires the replacement of the motherboard.
6. Extruder
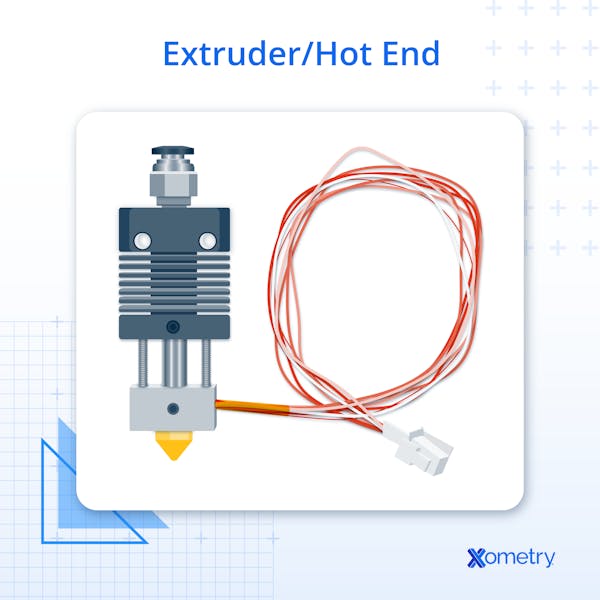
The extruder is used to pull the plastic from the filament spool and push it through a heated chamber and then out the nozzle to print a part. The extruder unit consists of a stepper motor, a spring-loaded gear wheel to grip the plastic, a hot end, and a nozzle. The three main types of extruders are:
- Direct Drive: Direct drive extruders are typically mounted above the hot end and the nozzle. These types of extruders push the plastic directly into the heated end and out the nozzle.
- Bowden: The extruder is mounted in a fixed location on the printer frame. A Bowden extruder pushes the plastic through a long flexible tube to the hot end. This allows the printer to print faster since there is less weight near the nozzle.
- Dual Extruders: Two separate extruders are placed next to each other that supply different materials. These can be different colors, or one extruder can be used to print the part supports. Both direct drive and Bowden-style extruders can be set up for dual extrusion.
Upgrading a direct drive to a Bowden extruder can be done relatively simply. Only some additional brackets and tubing are required. Upgrading to dual extrusion depends on how many stepper drivers can be accommodated on the motherboard. Connection points for additional fans, hot-ends, and temperature sensors will also be required.
7. Motion Controllers
The motion controller is the mechanism used to move the printer hot end along the three axes required to print a part. A stepper motor is used to control movement because of its capability to maintain precise positioning. However, stepper motors produce rotary motion. This rotary motion is converted to linear motion by making use of either a power screw or a toothed belt. The z-axis is almost always driven with a power screw, whereas the x and y axes can be driven with toothed belts.
It is rarely necessary to upgrade the motion controller. The original equipment stepper motors are able to control the position of the print heads very accurately.
8. Print Material
Typical FDM 3D printers can print using a wide variety of materials in the form of rolls of filaments. These can be 1.75 mm or 3 mm in diameter. Below are some general categories of plastics that can be printed:
- Thermoplastics: Thermoplastics such as PLA, ABS, and PETG are among the most commonly used raw materials.
- Thermoplastic elastomers: Elastomers are materials that are still flexible, like rubber, after printing. These types of plastics can be difficult to print, require a direct drive extruder, and are more expensive.
- Filled Thermoplastics: Filled thermoplastics covers a broad range of materials that are a blend of thermoplastics and additional fillers, such as metal powder, carbon fiber, or sawdust. These are mostly used to create parts with a unique appearance and provide improved strength.
Machine upgrades are rarely required to print with different filaments. However, in some cases, special accessories are needed. For example, it may be beneficial to include an enclosure with a ventilating pipe to the printer for plastics like ABS.
9. Print Bed
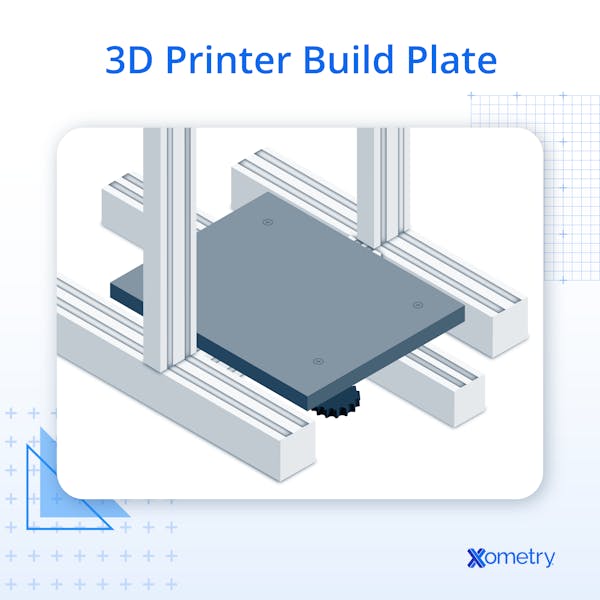
The print bed is the area in which the printed part is built. Print beds can be as small as 200 x 200 mm, or as large as 1 m x 1 m. The print bed is often moved back and forth along the y-axis. The print bed may have removable panels on it that improve the print's adhesion to the bed and facilitate the removal of the part after printing.
There are few upgrades available for a print bed apart from adding a removable panel to improve adhesion. The size of the print bed is dependent on the frame of the printer.
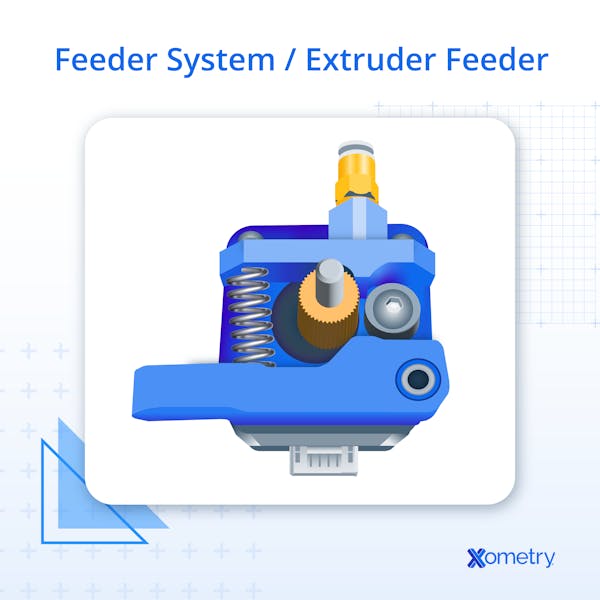
10. Feeder System
The feeder system is the network of the tubing by which filament materials enter the extruder and exit the heated nozzle. The right feeder system can make multicolor printing possible without the need for a dual extruder. A feeder system is a specialized process and can be added to an existing printer.
What Are 3D Printing Parts?
3D printing parts refer to any components that are required for the functioning of a 3D printer. These include extruders, motherboards, PSUs, and user interfaces, among others.
Where Are 3D Printing Parts Made?
The vast majority of 3D printer parts are manufactured in China.
What Is the Most Important Aspect of 3D Printing Parts?
The most important aspect of 3D printing parts is matching the machine specs with your requirements. Study the specifications of the printer being considered for purchase to determine whether it can perform the needed printing task.
For more information, see our article on the guide to 3d printers.
How To Identify 3D Printing Parts
Some 3D printer parts will have a serial number printed on them. That is especially true for electronic components like extruders or motherboards. Printer manufacturers will have a list of spare parts and where to purchase them on their website.
How To Assemble 3D Printing Parts
The easiest way to assemble 3D printer parts is to follow online instructions, especially those provided by the printer OEM. OEM instruction manuals will often display an exploded view of all the 3D printer parts, which can help with the assembly process.
Common FAQs About 3D Printing Machine Parts
Is Assembling 3D Printing Parts Difficult?
Assembly of a basic 3D printer requires some basic technical skills and can take hours to assemble from scratch. Most manufacturers provide thorough video instructions on how to safely assemble the printer. Special care is required when working with electrical parts and systems.
Where can we buy 3D Printing Parts?
3D printer parts can be bought from almost any major online retailer, such as Amazon, AliExpress, or Banggood. Local 3D printing shops may have components in stock that can be purchased with a slight markup. A simple Google search with the keywords, “3D printer parts near me,” can help you figure out where to buy printer parts.
How Much Will 3D Printing Parts Cost?
The cost of 3D printer parts depends on the part being bought. The most expensive part is often the motherboard and its related components. A typical motherboard costs anywhere from $44 to $75. Keep in mind that an entire 3D printer can cost as little as $280.
Is it Possible to Upgrade 3D Printing Parts?
Upgrading 3D printers is a vibrant hobby with countless accessories available online. There are also many guides online on how to upgrade your 3D printer parts.
Summary
This article reviewed 10 categories of 3D printing machine parts and explained their purpose. To learn more about 3D printing and how Xometry can assist with 3D printer parts, contact a Xometry representative.
Xometry provides a wide range of manufacturing capabilities, including 3D printing and value-added services for all of your prototyping and production needs. Visit our website to learn more or to request a free, no-obligation quote.
Disclaimer
The content appearing on this webpage is for informational purposes only. Xometry makes no representation or warranty of any kind, be it expressed or implied, as to the accuracy, completeness, or validity of the information. Any performance parameters, geometric tolerances, specific design features, quality and types of materials, or processes should not be inferred to represent what will be delivered by third-party suppliers or manufacturers through Xometry’s network. Buyers seeking quotes for parts are responsible for defining the specific requirements for those parts. Please refer to our terms and conditions for more information.

