What is Metrology and How is it Used in Manufacturing?
As products become more detailed and the limits of efficiency get pushed to new extremes, the manufacturing space has shifted toward ever-tighter tolerances to keep up. That sort of precision has become commonplace in modern products. However, achieving this level of precision is only the first step; tolerances need to be measured and verified through metrology. This article will explain what metrology is and why it is so critical to the manufacturing industry.

What is Metrology?
The word, “metrology,” is derived from Greek and essentially means the study of measurement. Metrology originally stemmed from the need to manufacture interchangeable parts. To make that possible, the dimensions of all the parts had to fall within a specific range — otherwise, they simply wouldn’t fit their companions. In its modern application, metrology has become a highly advanced field with many tools and statistical methods to measure the accuracy and quality of manufactured parts.
Tolerance
Tolerance is the variation within a part's dimensions that is considered acceptable. It is essential to understand the part's function before settling on the required tolerance. For example, a shaft that fits into a bearing needs a tighter tolerance than a through-hole for a bolt. A little extra space around the bolt isn't harmful, but too much wiggle room for the shaft will enable dangerous oscillations.
Another factor to consider is the manufacturing machine's ability to achieve these tolerances; some CNC machines can manufacture parts to a tolerance of a few microns while others are nowhere near such precision. Metrology techniques verify that a manufactured part fits within its specified tolerance. Tolerances for manufacturing processes can be found in Xometry's Manufacturing Standards.
Precision
Precision refers to how close each measurement is to the average of the measured values. This is expressed statistically in terms of the standard deviation (𝜎). In metrology, the “standard” for standard deviation is ±2𝜎. This means the manufacturer has 95% confidence that the measured value will be within 2 standard deviations of the true or desired value.
Uncertainty
Expressions of precision and accuracy must also have an attached uncertainty value. This is the sum of the accuracy error and the precision error expressed as 2 standard deviations. As a general rule of thumb, the uncertainty of the measuring tool should be at least a few times smaller than the tolerance being measured on the part. For example, to measure a dimension that is 0.001" a tool with the precision of at least 10X (0.0001") is required to reduce the uncertainty of a measurement.
Typical Metrology Tools
There are many measurement tools used for metrology within the manufacturing sector. Some of them are listed below.
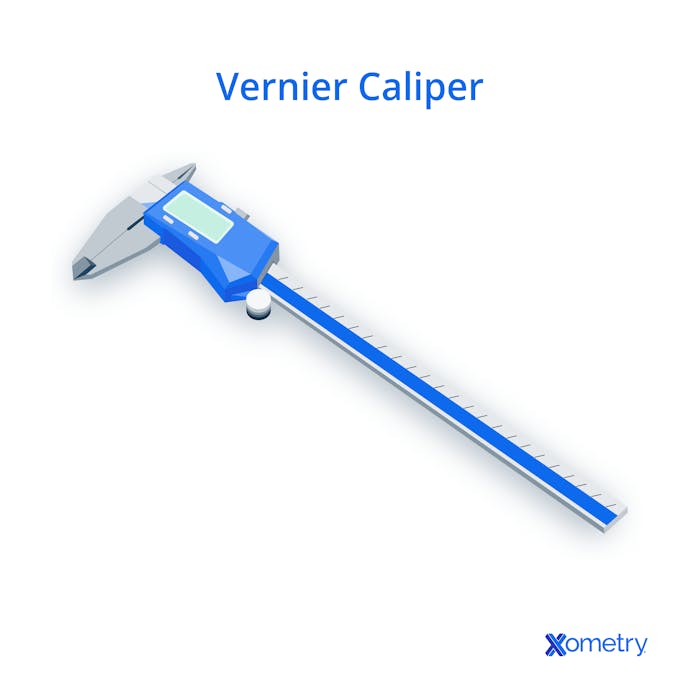
- Vernier Caliper: The most basic of metrology tools, a vernier caliper is one of the least precise tools because its measured values depend heavily on how the tool is used. Different clamping pressures, for example, can result in different values.

- Height Gauge: A height gauge gets placed on a truly flat surface allowing the part’s height to be measured. These tools can precisely measure part heights and eliminate some of the variance created by human error.
- Surface Plate: A surface plate is normally made from granite that has been surface-ground to be extremely flat. These are used as references from which to take measurements with a dial indicator or a height gauge.
- Dial Indicator: These tools are highly precise and provide relative measurements only (i.e. they can’t measure the total variance of a part). For example, if a dial indicator is mounted in a lathe, it can be used to measure the deviation of a part's diameter. It can also be used on a surface plate to measure flatness.
- Micrometer: A micrometer is one of the more accurate hand measurement tools as it eliminates the potential of a user placing excess pressure against the part. This results in more precise measurements.
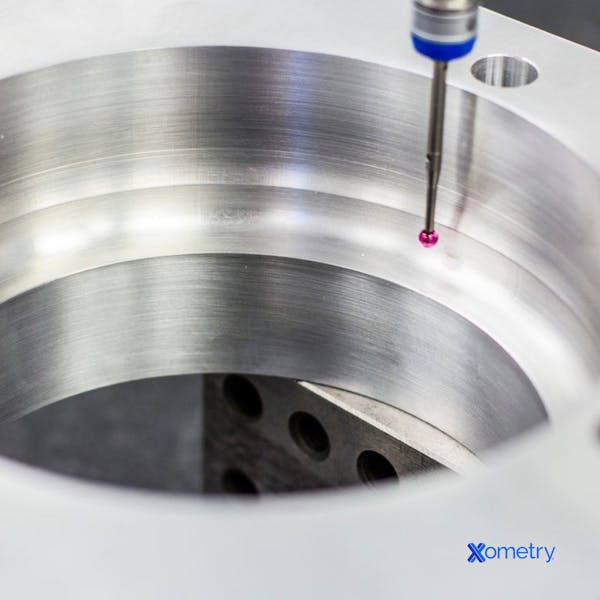
- Coordinate Measuring Machine (CMM): A CMM is one of the most precise tools used for manufacturing metrology. It works by moving a gantry-mounted probe until it contacts the part. Once it touches the part, the probe generates an electrical signal. Its internal computer tracks the probe’s exact X, Y, and Z coordinate position as it moves, so it can generate an accurate measurement report in three dimensions. Doing this on multiple surfaces will map out a parts’ overall dimensional accuracy.
- Optical Comparator: Optical comparators work by imaging a 2D silhouette of a part and comparing it to the prescribed dimensions. This machine excels at quick measurements on 2D part profiles. Digital comparators are similar to optical comparators, but use computations to measure features without manual tools.

Measurement Best Practices
Listed below are some critical factors for any manufacturer’s metrology department.
Calibration of Instruments
To ensure that the measurements are accurate, all measuring instrumentation needs to be periodically calibrated. This is typically done in a lab. Alternatively, a gauge block or pin with a known size can be used for a less official calibration. It’s worth noting that most quality standards require this calibration to be done by a certified lab. The lab will issue a certificate to validate that the instrument was properly calibrated. The instrument's serial number must be printed on the certificate to ensure traceability.
Temperature-Controlled Clean Room
Materials expand or contract based on the ambient temperature. In most cases, the variation is much too small for the human eye to pick up. However, if parts require micron-level accuracy, a small temperature change can make a significant measurement difference. A single part can be measured in the morning and afternoon and yield different values. In addition to this, dust or debris can generate inaccurate readings. To eliminate these variables, many companies perform measurements in temperature-controlled clean rooms that are isolated from the factory floor.
Disclaimer
The content appearing on this webpage is for informational purposes only. Xometry makes no representation or warranty of any kind, be it expressed or implied, as to the accuracy, completeness, or validity of the information. Any performance parameters, geometric tolerances, specific design features, quality and types of materials, or processes should not be inferred to represent what will be delivered by third-party suppliers or manufacturers through Xometry’s network. Buyers seeking quotes for parts are responsible for defining the specific requirements for those parts. Please refer to our terms and conditions for more information.

